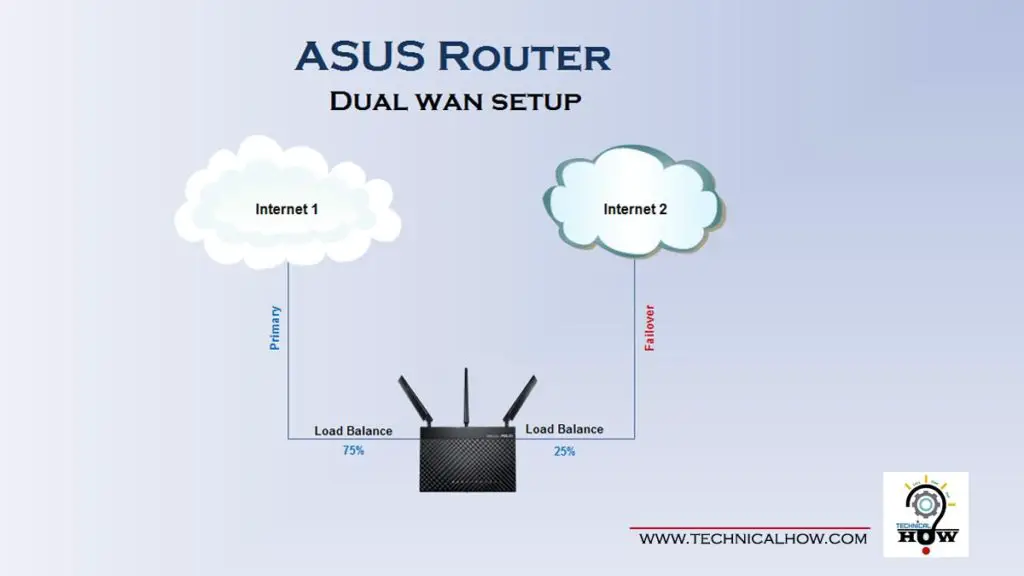
ASUS routers are the most versatile and powerful home routers with many useful features. Today we’ll look into how to configure the ASUS router in bridge mode, where you can wirelessly connect it to another router to extend not only the WiFi signal but also utilize the 4 wired ports for LAN to hook up PCs and other devices in a wired connection.
ASUS router in Bridge mode can become very useful in extending your wireless network range in the house for a stable connection. In addition, it also provides you 4 wired ports to connect devices through an Ethernet cable. This function comes in very handy where you need a wired connection in the house in a location that is far from the main router and running cable may be a challenge due to obstacles including walls.
It certainly helped me avoid drilling through the floor and walls in my home network setup. Let’s take a look at how this is configured.
Step 1: Make sure the Primary router is up and running and has a good WIFI signal
Step 2: Power up your ASUS router to be used as Bridge Mode
Step 3: Connect LAN Port 1 (not the WAN port) to your PC Network Interface Card (NIC) using an Ethernet cable.
Step 4: You may want to factory reset the router to flush out any existing configuration. You can do so by pressing the reset pin with a paper clip for 10 seconds and let go. Give it about a minute to reboot.
Step 5: Make sure you set your PC network adapter to manual settings and set up an IPV4 address of 192.168.1.10, Subnet Mask: 255.255.255.0.
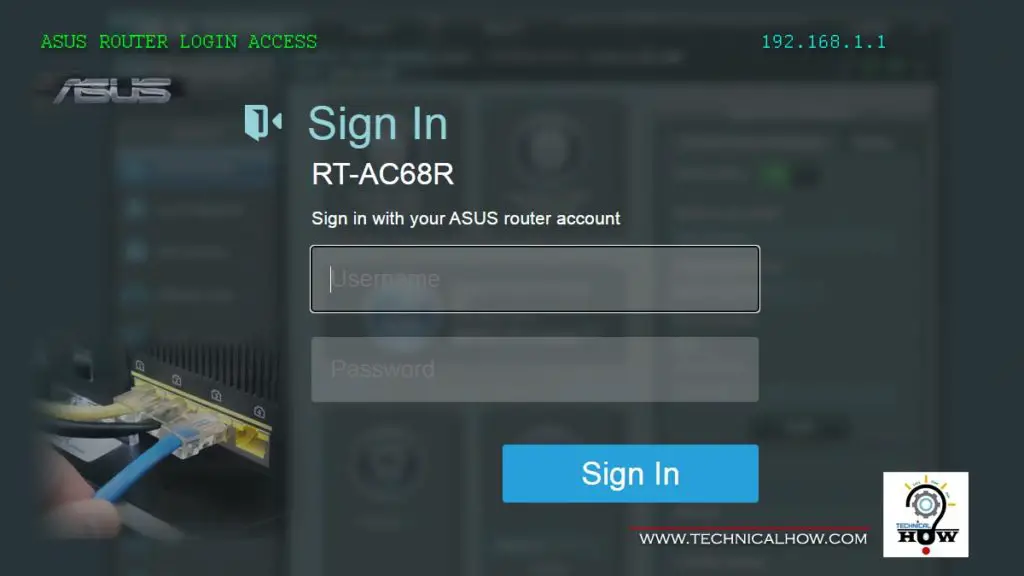
Step 6: Open a browser and type in the address 192.168.1.1 and hit Enter. You will be served with the router login page. Use a username and password of “admin” to log in.
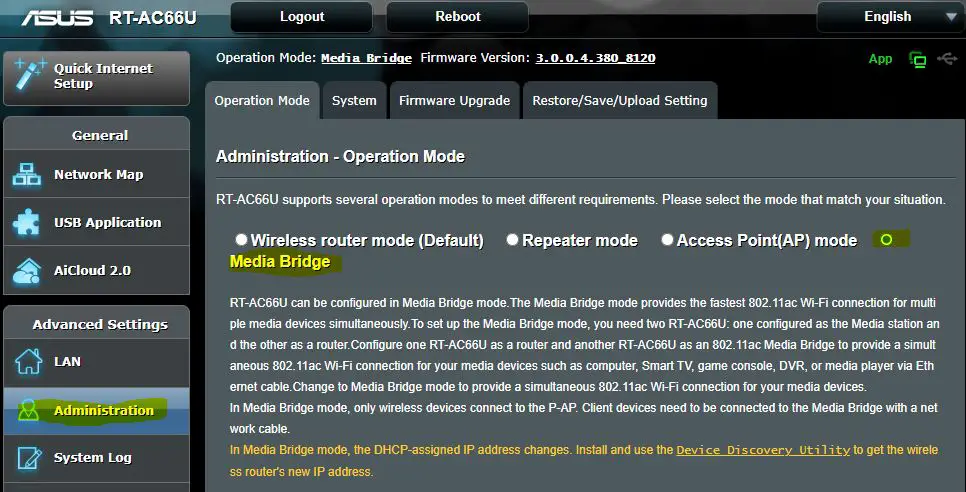
Step 7: Select Media Bridge Mode and click Next.
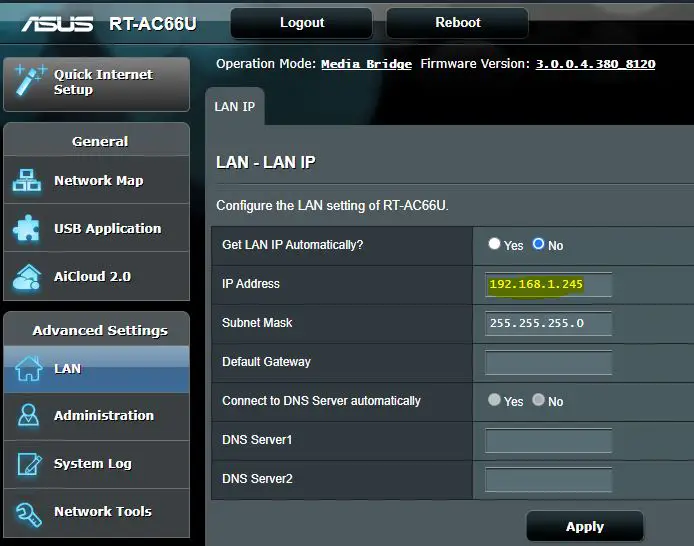
Step 8: Access the LAN tab on the left, and set up an IP address for this Router in the 192.168.1.X address space such as 192.168.1.245 shown in the example, and click Apply. This will take away your browser page since the address has been changed. However, you can simply type in this new address 192.168.1.245 in your browser and hit ‘enter’ to bring back the admin page.
Step 9: On the “Network Map” tab, click on “Media Bridge” and click on the Scan button to scan the available WIFI networks. Once scanned, select your home WIFI network (the 2.4GHz one, which offers long-range), type the Network Key, and click on “Connect‘

This will connect your ASUS router (in bridge mode) to the main router wifi, and enable all the 4 ports ready to be used by your wired devices for the internet.
Tip: At this point, you can revert back your PC network adapter setting IPV4 address to DHCP to obtain the IP from the main router. Or alternately, you can add the Gateway address of 192.168.1.1.
This setup will help you move your Bridge ASUS router anywhere in the house and be able to connect (up to 4) wired devices to it to be able to use the Internet.